In the Beginning – Was the Pinhole
Images
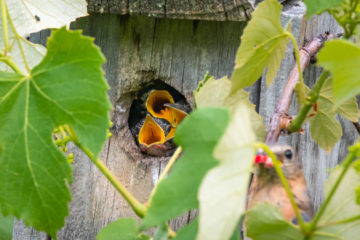
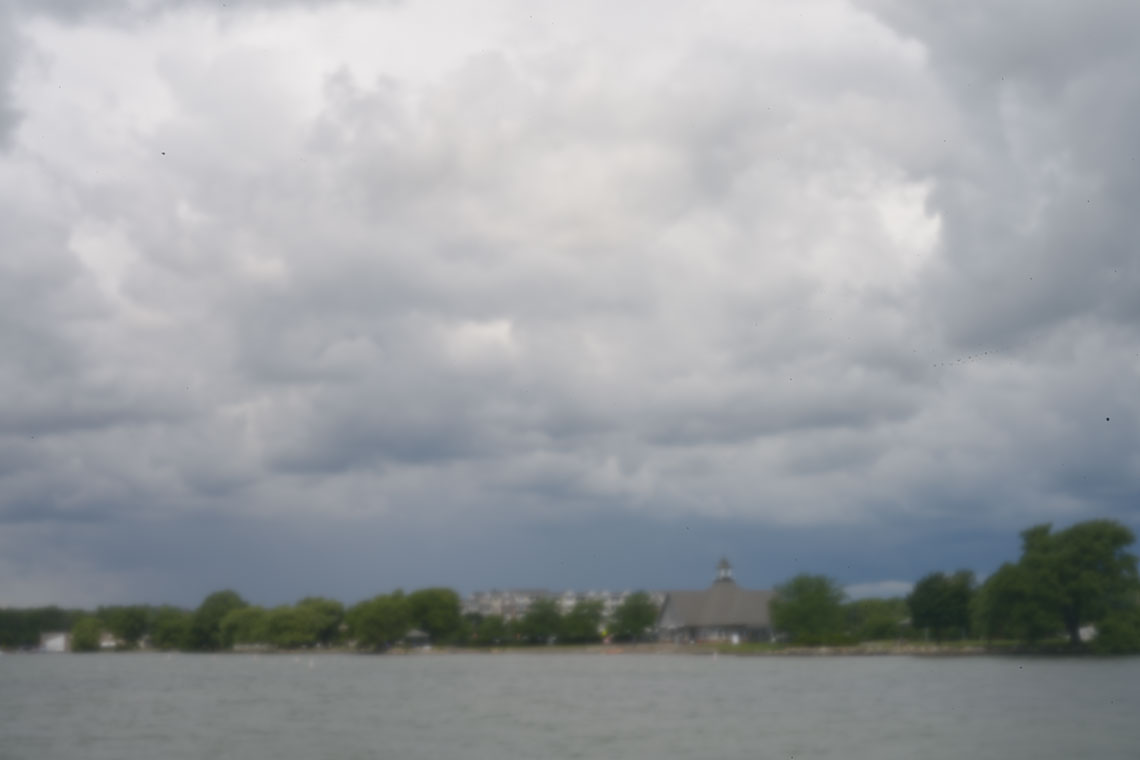
The pinhole camera is the oldest and simplest of all camera designs, so simple that it doesn’t even have a lens – only a small hole in its place. This photograph was made with a camera from which the lens was removed and replaced with a piece of brass foil with a tiny hole in it.
The scene.
Here is a comparison of the image as captured with the same image after some aggressive sharpening with Photoshop.

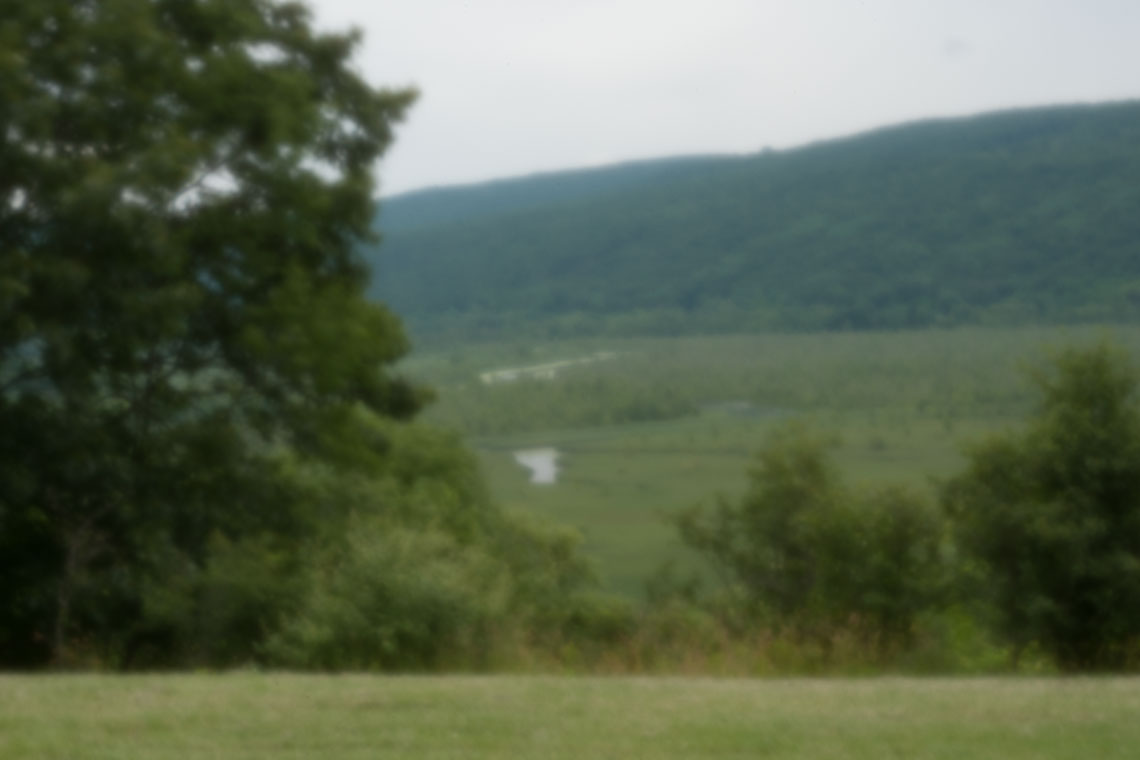
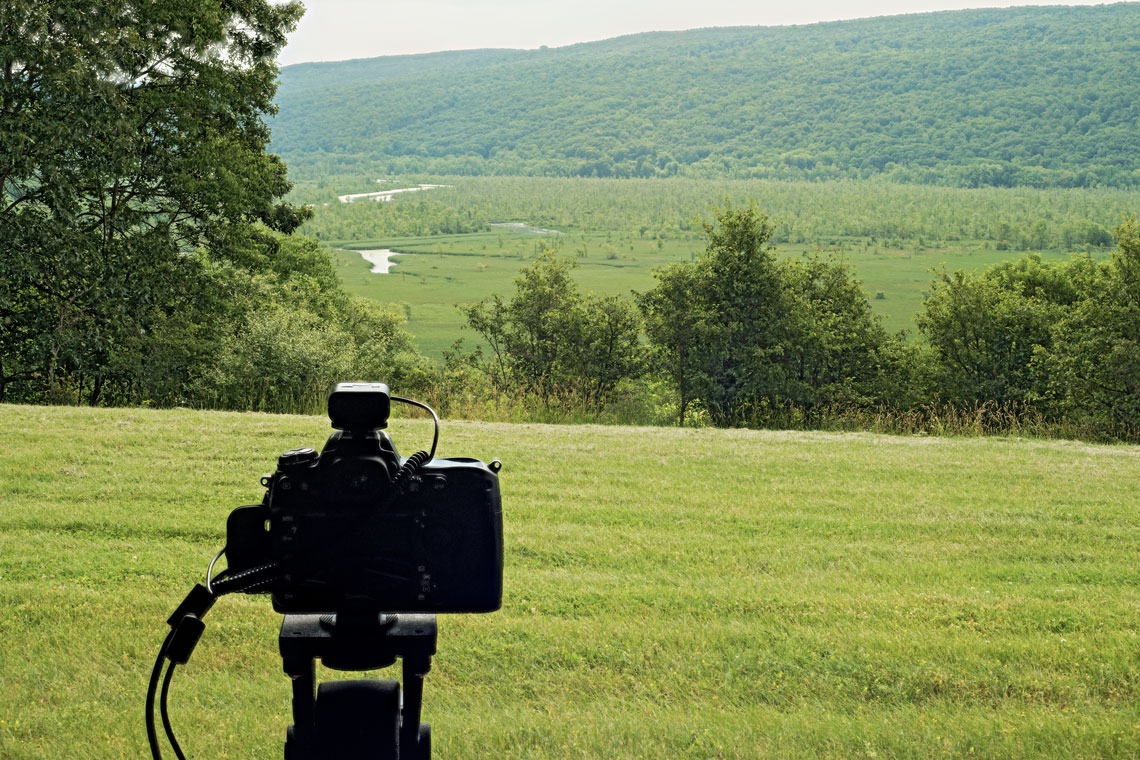
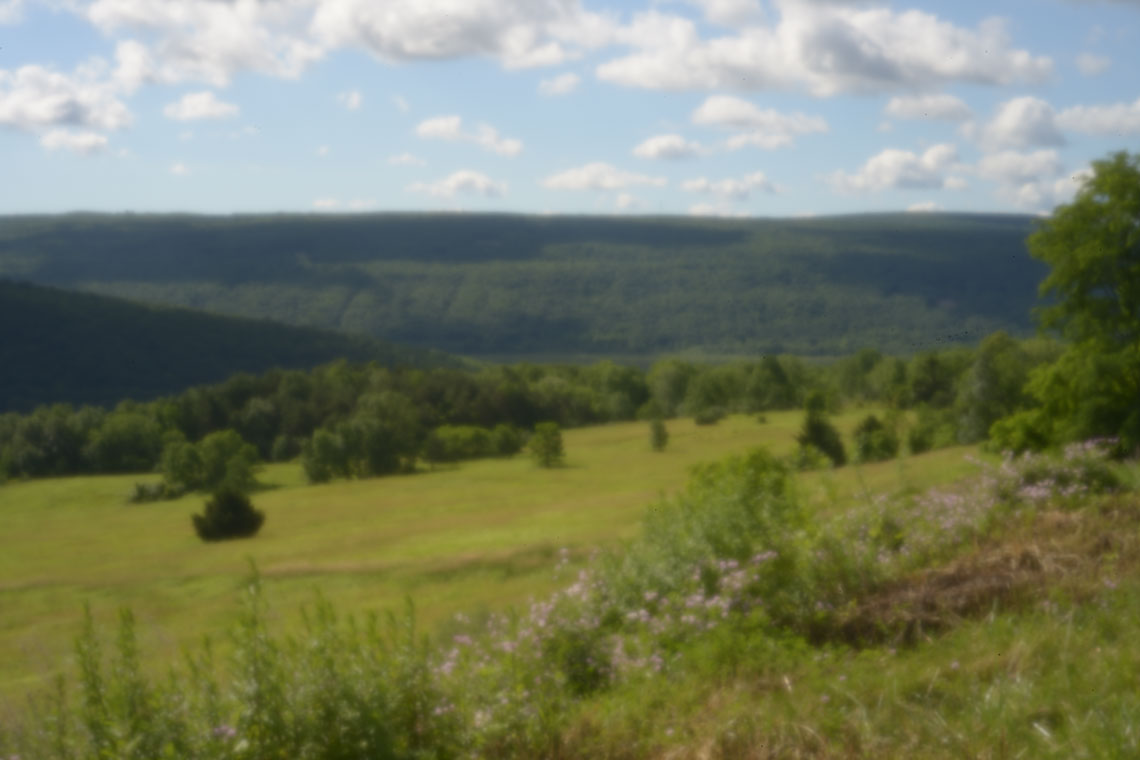
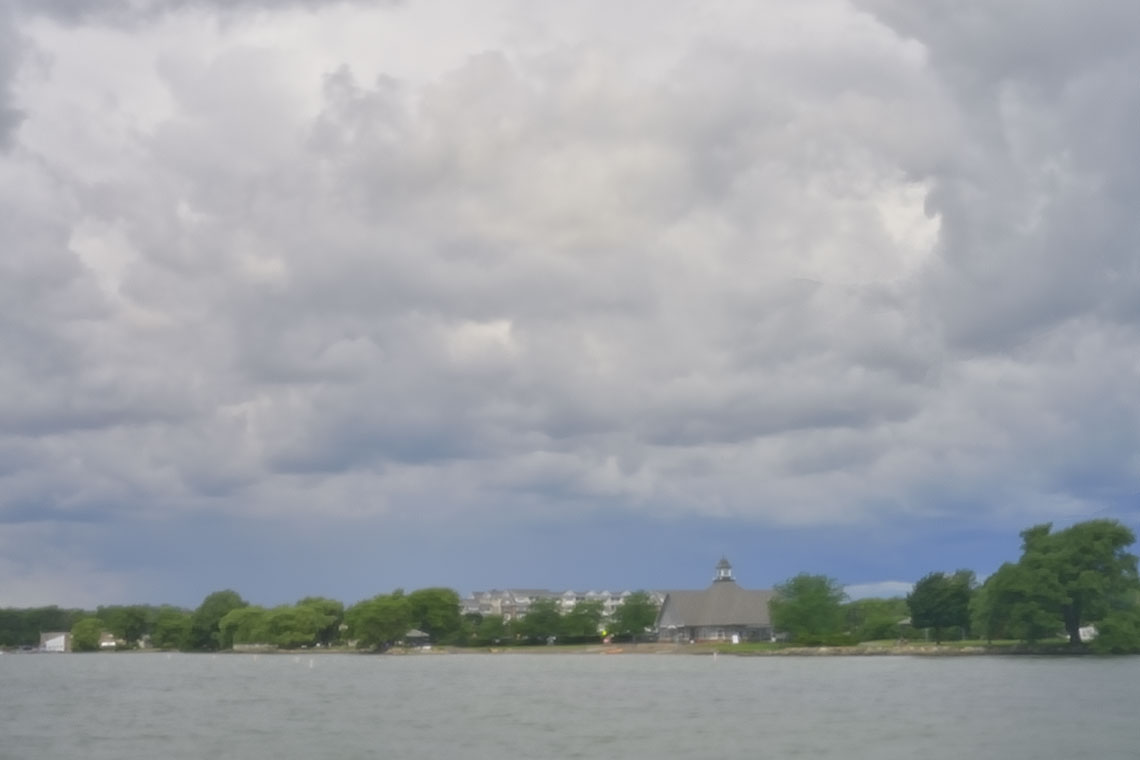
Below are some more examples of pinhole pictures grouped in galleries of three images each. The images in the first column are the raw pinhole pictures, the second column shows the same picture with some sharpening and minor editing, and the last column show a picture of the same scene taken with an 50mm lens and edited. Click through each gallery to see the differences.
-

- Pinhole

-

- Pinhole plus sharpening

-

- 50mm lens


Discussion
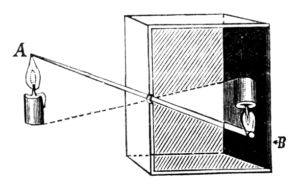 The phenomenon of the pinhole camera was known many years before there was a means to fix an image, such as with film or an electronic sensor. It had been observed that if a small hole was formed in one wall of a completely darkened room that an inverted image of the scene outside was faithfully projected onto the opposite wall. This principle was reduced in size to become the camera obscura, a device used by artists in the sixteenth century as an aid for drafting scenes for their paintings. Eventually the concept was reduced in size again to become the pinhole camera, and by adding a lens to one end and a photographic plate at the other the camera as we recognize it today was born.
To build a digital pinhole camera, a camera with a removable lens is required. All that is needed is a piece of aluminum foil taped over the lens opening that has been pierced with a needle. The design shown here is more durable and was built by drilling a hole in a thin brass disk and taping that onto a body cap into which a larger clearance hole has been drilled.
Here is a front view of the camera with the pinhole in place, and a picture of the back side of the cap. In order to keep camera vibration to a minimum a remote shutter release was used to raise the mirror, pause, and release the shutter. The receiver portion is shown mounted in the flash hot shoe.


According to the Wikipedia entry for the Pinhole Camera, the optimal diameter for the hole should be:
Where d is the diameter, f is the focal distance from the brass aperture plate to the sensor plane, and λ is the dominant wavelength of light, which would be about 550 nm for green. The specification for the distance from the lens mount surface to sensor plane of the camera for the Nikon F-mount is 46.5 mm and with the body cap attached the distance from the sensor plane to the aperture plate is about 52 mm. This calculation for the focal length received some support from the fact that the pinhole captured very nearly the same amount of scene content that the 50mm lens did. According to the equation, the optimal diameter of the pinhole should be 0.34 mm when the focal distance is 52 mm. The brass aperture sheet was only 0.04 mm thick and the final hole diameter was about 0.40 mm. Here’s a closeup iPhone picture of the hole with a loupe and measuring reticle over it.

Two additional aperture disks were tried, one with a larger diameter of 0.50 mm and one with a smaller diameter of about 0.25 mm, but neither performed as well as the original 0.40 mm one and seemed to confirm the goodness of the optimum aperture equation.
The original pinhole image at the top of the page was made with a Nikon D300s, but the pictures from around the lake were made with a D800, and the D800 images were a bit less blurry. The major difference between the two cameras is that the D300s has a smaller and lower resolution sensor than the D800.
All of the images were made in full daylight at ISO 200 or 100 and with exposure times of between one and two seconds, and motion blur caused by the wind during the long exposures was responsible for some of the lack of sharpness. File format was .NEF, the Nikon version of RAW, and image sharpening was done with either Adobe Camera Raw or Nikon Capture NX-D software.
Note that the smaller the image that is required, the more comparable the pinhole image quality approaches that of images formed with a lens. One of the images below was taken with a lens and the other is the pinhole picture without any sharpening or editing:
Resources
A video by The Slo Mo Guys that shows very clearly how the mirror and shutter work together in a digital single lens reflex camera (DSLR).
A video showing how Abelardo Morell is taking the camera obscura to a whole new level.
Check out these links and more on the Resources page.